By using this site, you agree to the Privacy Policy and Terms of Use.
Accept
TechgoonduTechgoonduTechgoondu
  • Audio-visual
  • Enterprise
    • Software
    • Cybersecurity
  • Gaming
  • Imaging
  • Internet
  • Media
  • Mobile
    • Cellphones
    • Tablets
  • PC
  • Telecom
Search
© 2023 Goondu Media Pte Ltd. All Rights Reserved.
Reading: DIY: Backing up your photos on your NAS
Share
Font ResizerAa
TechgoonduTechgoondu
Font ResizerAa
  • Audio-visual
  • Enterprise
  • Gaming
  • Imaging
  • Internet
  • Media
  • Mobile
  • PC
  • Telecom
Search
  • Audio-visual
  • Enterprise
    • Software
    • Cybersecurity
  • Gaming
  • Imaging
  • Internet
  • Media
  • Mobile
    • Cellphones
    • Tablets
  • PC
  • Telecom
Follow US
© 2023 Goondu Media Pte Ltd. All Rights Reserved.
Techgoondu > Blog > Imaging > DIY: Backing up your photos on your NAS
ImagingPCSoftware

DIY: Backing up your photos on your NAS

Wilson Wong
Last updated: June 7, 2021 at 11:58 AM
Wilson Wong
Published: June 7, 2021
5 Min Read
SHARE
The Synology DS220+. Photo: Handout

Google’s cloud storage for photos, which used to be unlimited, stopped being so this month. Instead, you only get 15GB of free storage, which isn’t a lot for folks who have lots of photos and videos. 

If cloud isn’t your thing any more, there is always a network attached storage (NAS) drive that you can set up at home to store your precious data on your phone and PC.

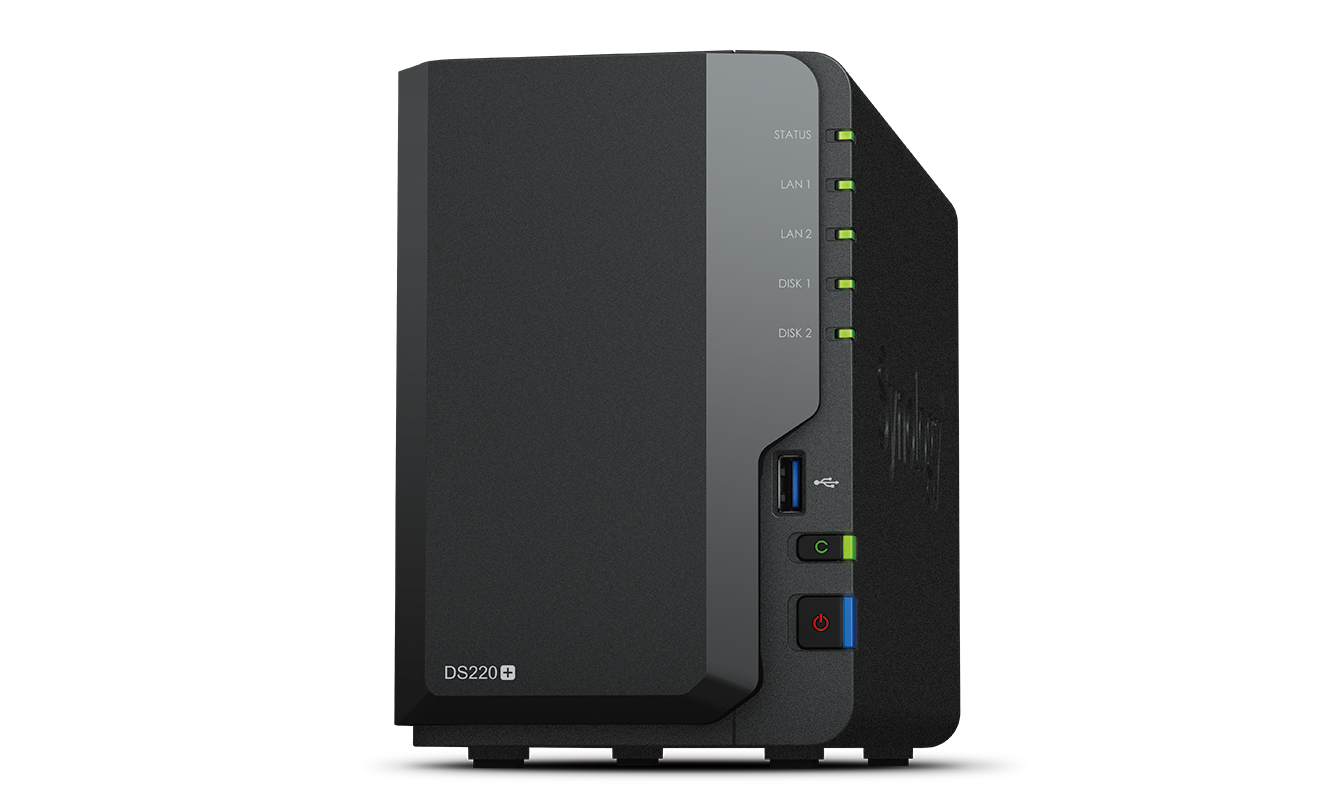
I recently powered up a Synology NAS – the DS220+ – to have my photos and videos safely backed up at home.

Here are some of the steps I took:

Using Synology Moments

The fastest way to backup your images and videos on your smartphone and the PC is to use Synology’s Moments with the NAS.

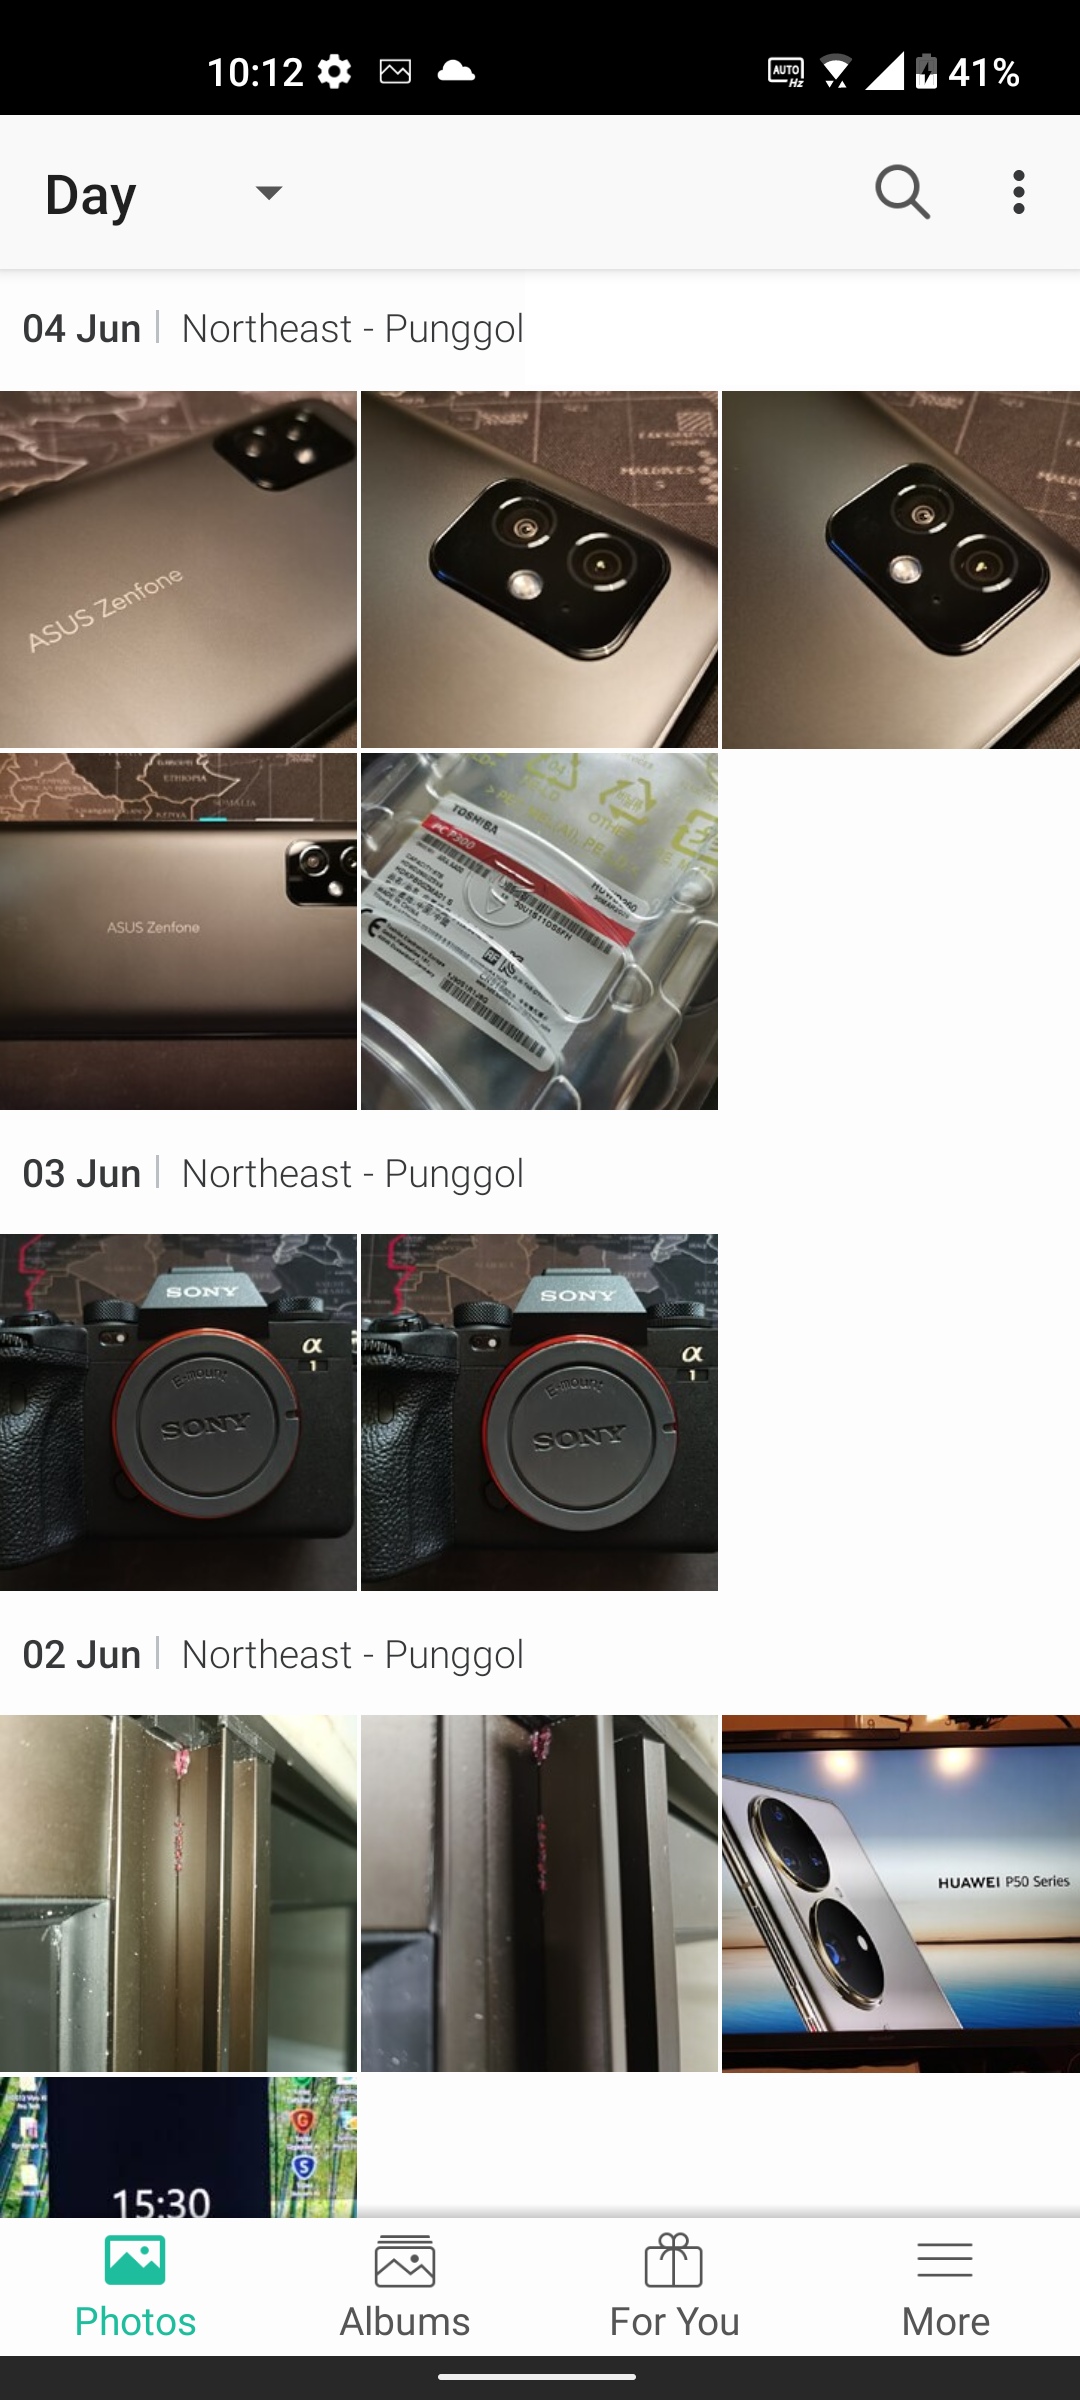
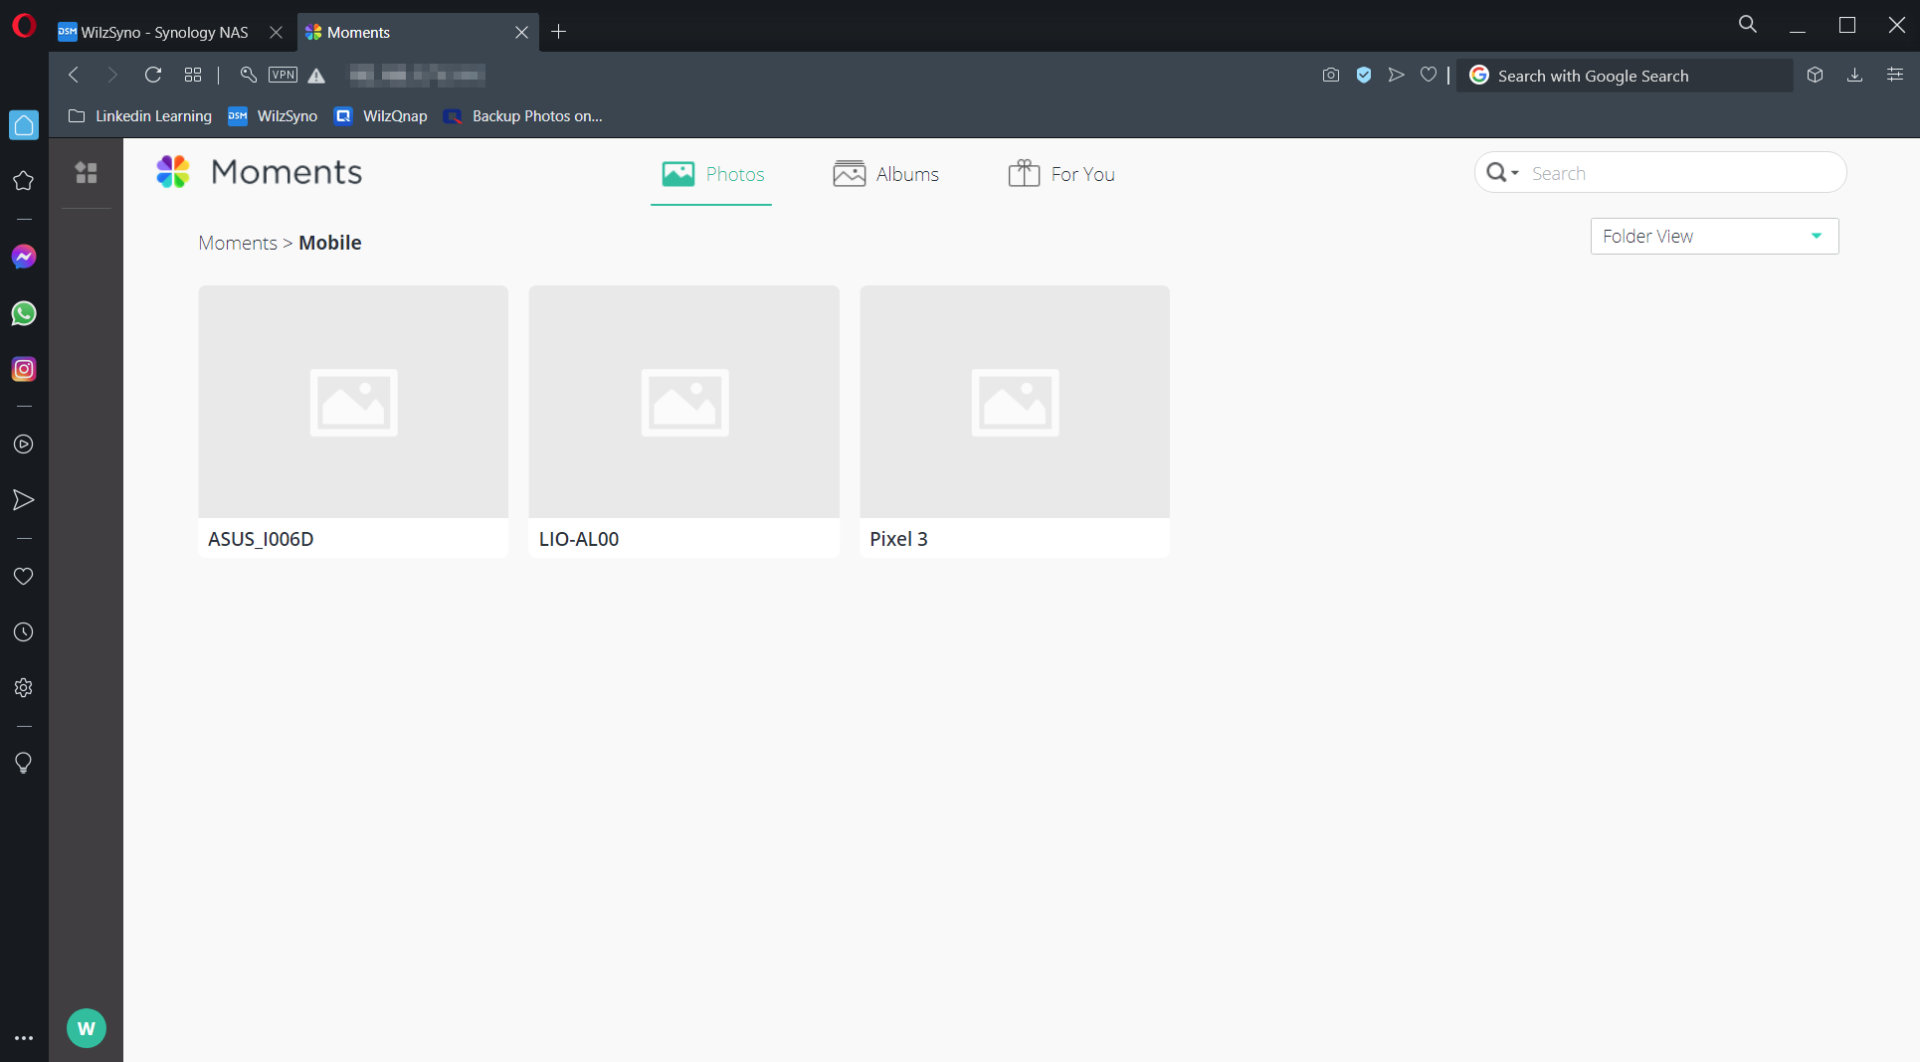
The Moments app will organise the uploaded image files into People, Subjects, Places, Tags and Videos. You can also view images from a particular phone using the Folder View.

To back up from your smartphone,

1. Log into your NAS via a Web browser.

2. Install the Moments app via Synology’s Package Center.

3. After firing up Moments, create a folder for your phone backup.

4. On your Android phone, download and install the Synology Moments app.

5. Fill up your login details in the phone app.

6. Choose how the photos are to be transferred over to the NAS. Make sure you choose the DCIM folder on your phone (usually where your camera shots are saved) to be backed up.

7. Tap on More and tap on Photo Backup to start the backup.

The images from the mobile phone as seen from the Moments app running on the NAS. Photo: Wilson Wong

To back up from your PC,

1. Complete the steps as above for the Moments app on the NAS

2. Download, install and run Synology Drive Client on the PC

3. Choose Backup Task

4. Log into the NAS server on your PC

5. Select the backup source in the PC, such as your “Pictures” folder. You can choose multiple image folders to backup.

6. Point the destination of the backup to My Drive\Moments and click Next

7. Select the backup mode as Scheduled backup

8. Choose the time and day to backup 

9. Confirm the settings and click Done

10. Run the backup for the first time.

You will be able to see two folders, Mobile and PC, in the Moments app on the NAS in folder view.

Back up your files using the Synology Drive Server service. PHOTO: Wilson Wong

Direct backup using Synology Drive Server Service

If you want a bit more control and features, then you can do a direct file backup using Synology’s Drive Server Service.

This may be useful for avid photographers using DSLR and mirrorless cameras, who have their work saved on a PC.

The easiest way is to identify the folders and set a timed schedule to back them up to the NAS automatically. You can back up your work files too using this method.

1. Log into your NAS machine via a Web browser.

2. Create a Shared Folder named Photo Backup under Control Panel > Shared Folder. Make sure users have read/write access rights. Find an appropriate name for the folder if you wish to save both image and work files into the NAS.

3. Install Synology Drive Server on the NAS via the Package Center.

4. Under Team Folder in the left panel, highlight Photo Backup folder and “enable” it using the Enable button at the top. This will ensure the folder is visible to the client app on the PC.

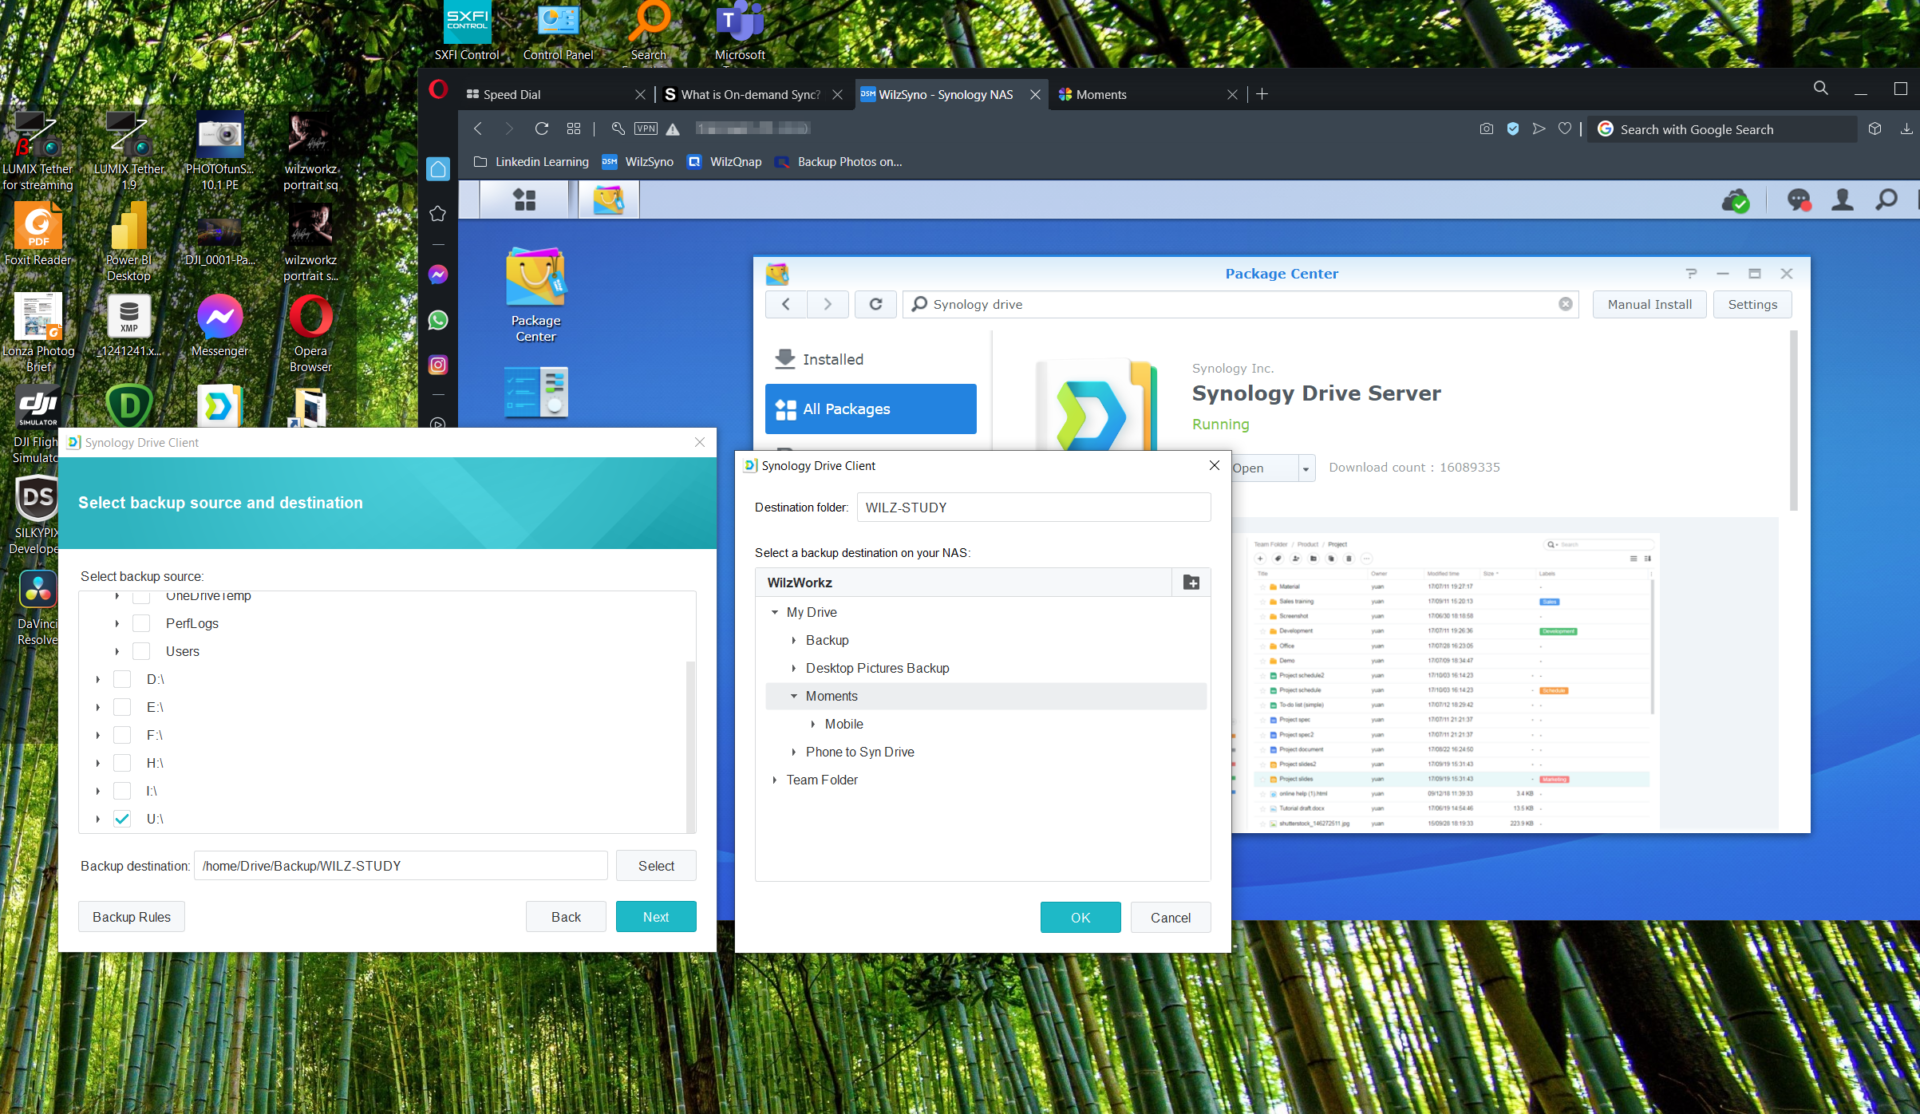
5. Download and Install Synology Drive Client on the PC.

6. Log into the NAS server via the client app in step 5.

7. Select the backup sources (the photo folder in the PC such as your “Pictures” folder). You can choose multiple image folders to backup.

8. Select the backup mode as “Scheduled backup”. Choose the time and date to backup. 

9. Confirm the settings and click Done.

Getting AI right means going beyond quick solutions
Camera industry faces uphill battle as smartphones leap ahead with mobile photography
In an uncertain new normal, five big tech trends in 2023 to look out for
Goondu review: travel apps we love
Powerful Nvidia 765M GTX graphics now on a 13.3-inch Aftershock gaming laptop
TAGGED:diyNASstorageSynology

Sign up for the TG newsletter

Never miss anything again. Get the latest news and analysis in your inbox.

By signing up, you agree to our Terms of Use and acknowledge the data practices in our Privacy Policy. You may unsubscribe at any time.
Share This Article
Facebook Whatsapp Whatsapp LinkedIn Copy Link Print
ByWilson Wong
Follow:
Wilson is a self-taught photographer whose passion started with his father’s old Canon L Rangefinder camera. He now leads the 12,000+ strong Singapore Photography & Imaging Network group. His photos have won acclaim from Nikon and Fujifilm, and are featured in various books and exhibitions.
Previous Article Businesses use the cloud to manage risk but are they also concentrating it?
Next Article Buying a laptop or tablet for your kid? Sharing your own might work
Leave a Comment

Leave a ReplyCancel reply

This site uses Akismet to reduce spam. Learn how your comment data is processed.

Stay Connected

FacebookLike
XFollow

Latest News

Scammers are so successful they even accidentally scam themselves now
Cybersecurity Internet
June 10, 2025
Doom: The Dark Ages review: Future fantastic demon slaying
Gaming
June 10, 2025
Plaud NotePin review: Note-taking made easy with AI
Internet Mobile
June 9, 2025
Can smart grocery carts, biometric payments boost retailers like FairPrice?
Enterprise Internet
June 6, 2025

Techgoondu.com is published by Goondu Media Pte Ltd, a company registered and based in Singapore.

.

Started in June 2008 by technology journalists and ex-journalists in Singapore who share a common love for all things geeky and digital, the site now includes segments on personal computing, enterprise IT and Internet culture.

banner banner
Everyday DIY
PC needs fixing? Get your hands on with the latest tech tips
READ ON
banner banner
Leaders Q&A
What tomorrow looks like to those at the leading edge today
FIND OUT
banner banner
Advertise with us
Discover unique access and impact with TG custom content
SHOW ME


POWERED BY READYSPACE
The Techgoondu website is powered by and managed by Readyspace Web Hosting.

TechgoonduTechgoondu
© 2024 Goondu Media Pte Ltd. All Rights Reserved | Privacy | Terms of Use | Advertise | About Us | Contact
Join Us!
Never miss anything again. Get the latest news and analysis in your inbox.

Zero spam, Unsubscribe at any time.
 

Loading Comments...
 

    Welcome Back!

    Sign in to your account

    Username or Email Address
    Password

    Lost your password?