As many homes in Singapore get hooked up to 10Gbps fibre broadband, one common misconception is that you need to have the latest and greatest network cables to connect up everyone at home.
The recommended cable you will often hear is Cat6 at the minimum. Better if you have Cat6a or faster, as these cables can provide more bandwidth, at least on paper. In truth, these differences matter more when you talk about distances of at least 50m or more.
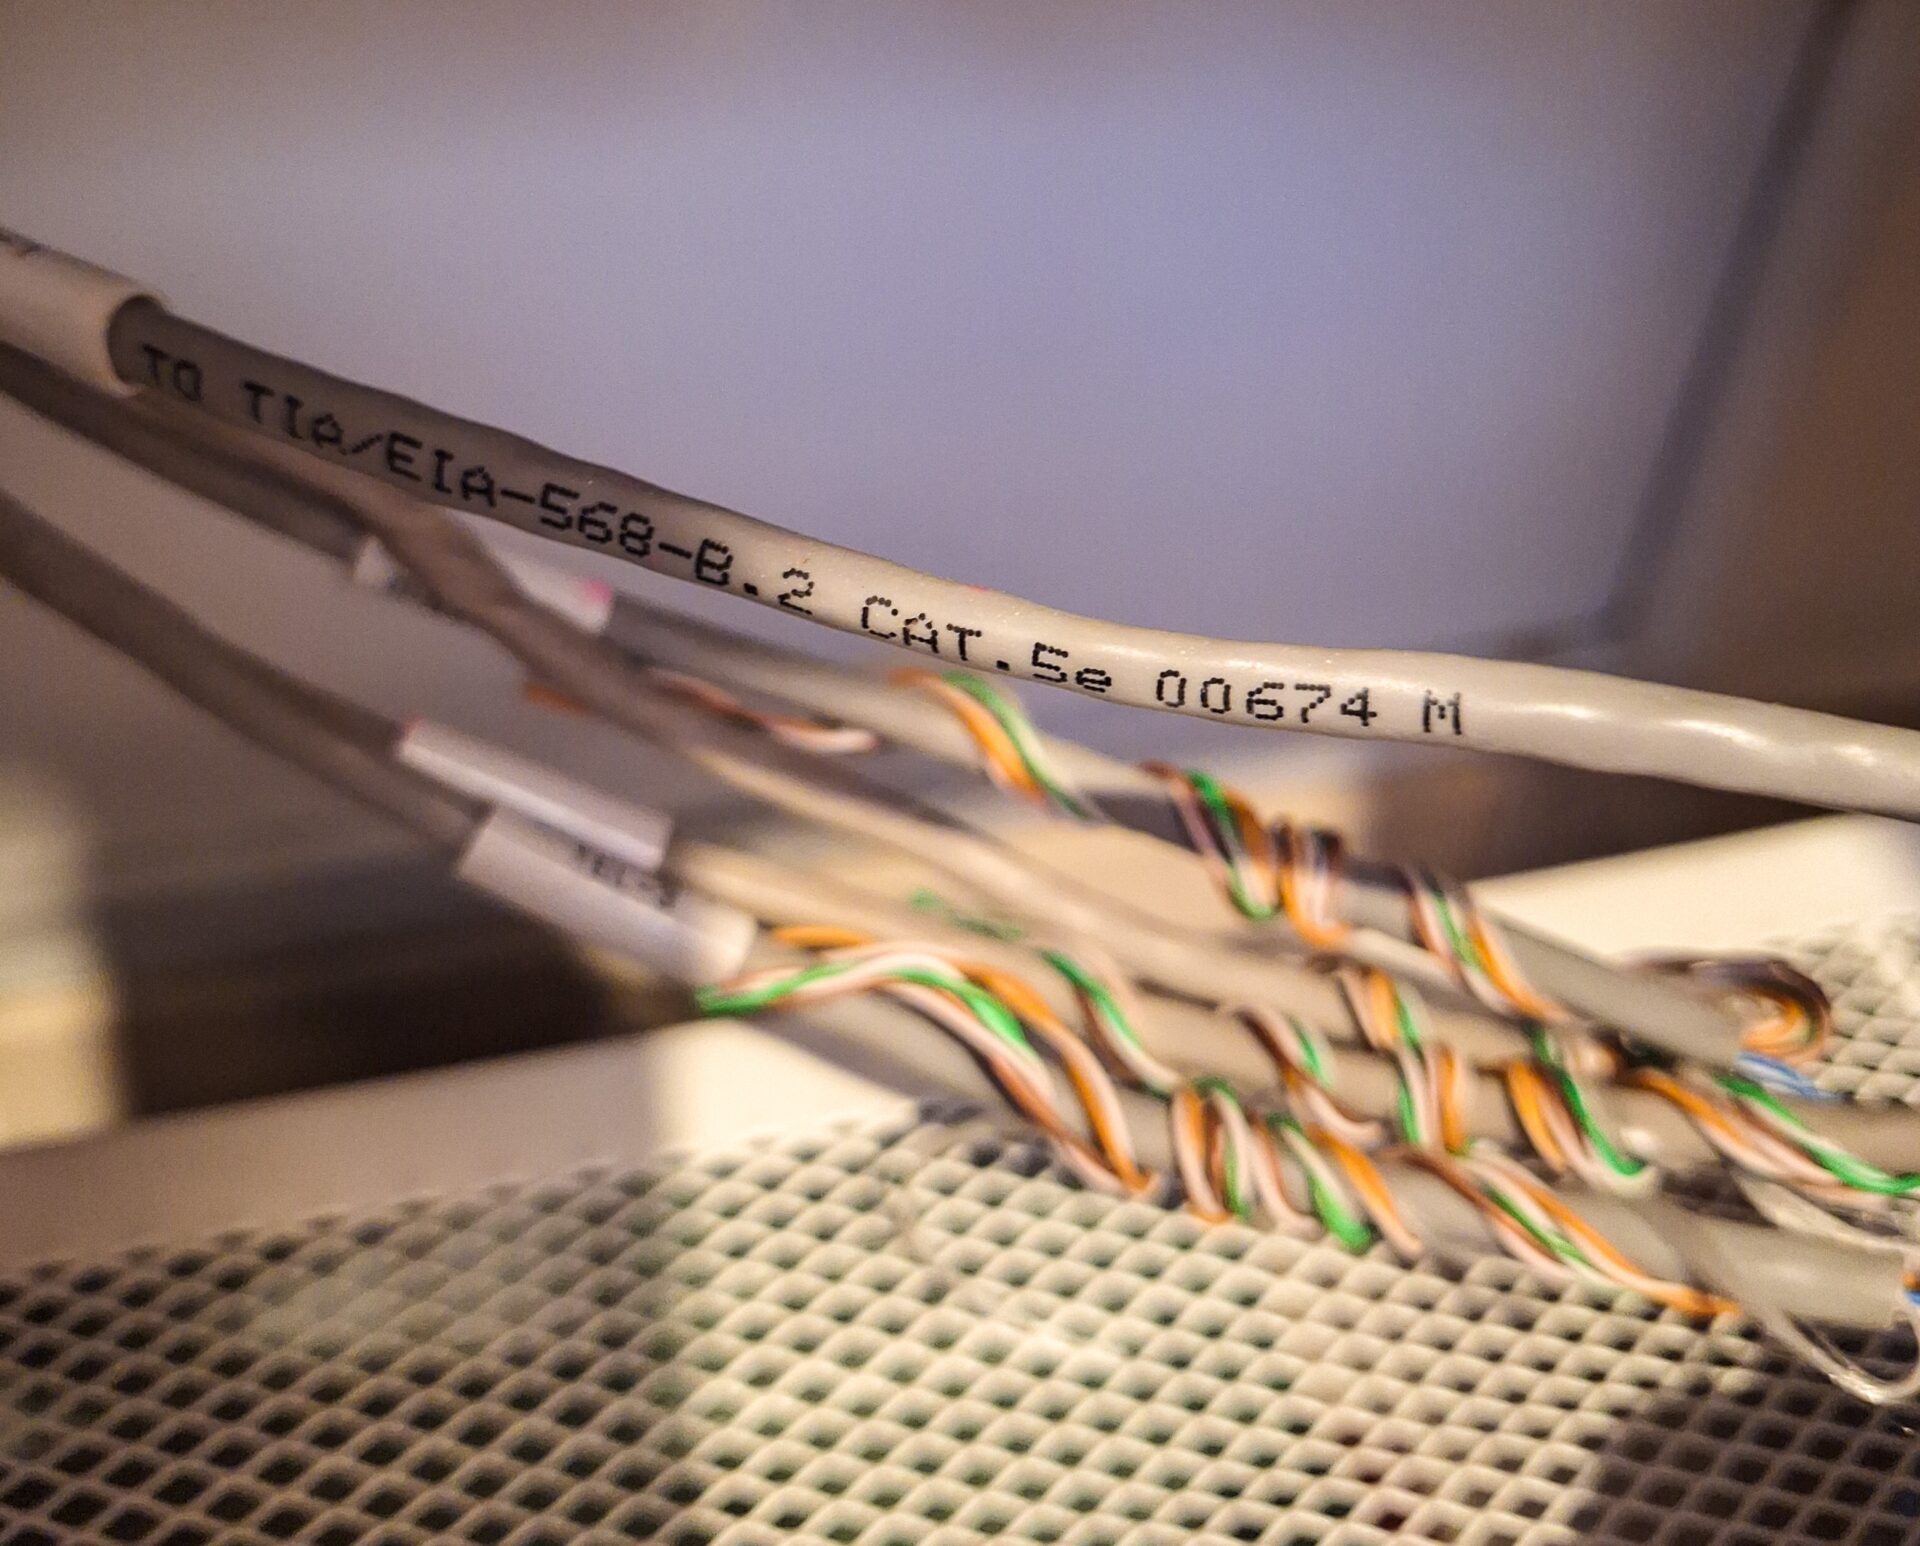
In Singapore, with most homes rather compact, you’ll find that you rarely need more than 20m of a network cable run. This means the older cables buried in your home’s walls for more than a decade or more should still work. Yes, I’m thinking of the Cat5e cables that have been common until the past few years.
Recently, I found that even old phone cables can still work as well, because many builders simply used the most common Cat5e cables and only utilised two out of the eight wires within the cable to carry voice.
You just need to connect up the rest of the wires and terminate the cable in a RJ45 jack or keystone to turn your old phone cable into a network cable. Yes, to run at speeds as fast as 10Gbps.
Not possible? Even the electrician who helped wire up my 15-year-old house several years ago cautioned that these cables may not be able to sustain high speeds because of poorer shielding. Well, I proved him wrong!
Here’s what I did:
1. Locate the phone connections in your house, starting with the network box where all your cables end up. This could be a storeroom or a circuit box. For me, my cables are concentrated in a storeroom.
Check that your phone cables are Cat5e (Cat5 might work too) and that they are not daisy chained. If you can see separate cables linked to each room in your home, you should be good. For me, the cables leading to each room were joined and connected to a (now defunct) phone network leading out of the house.
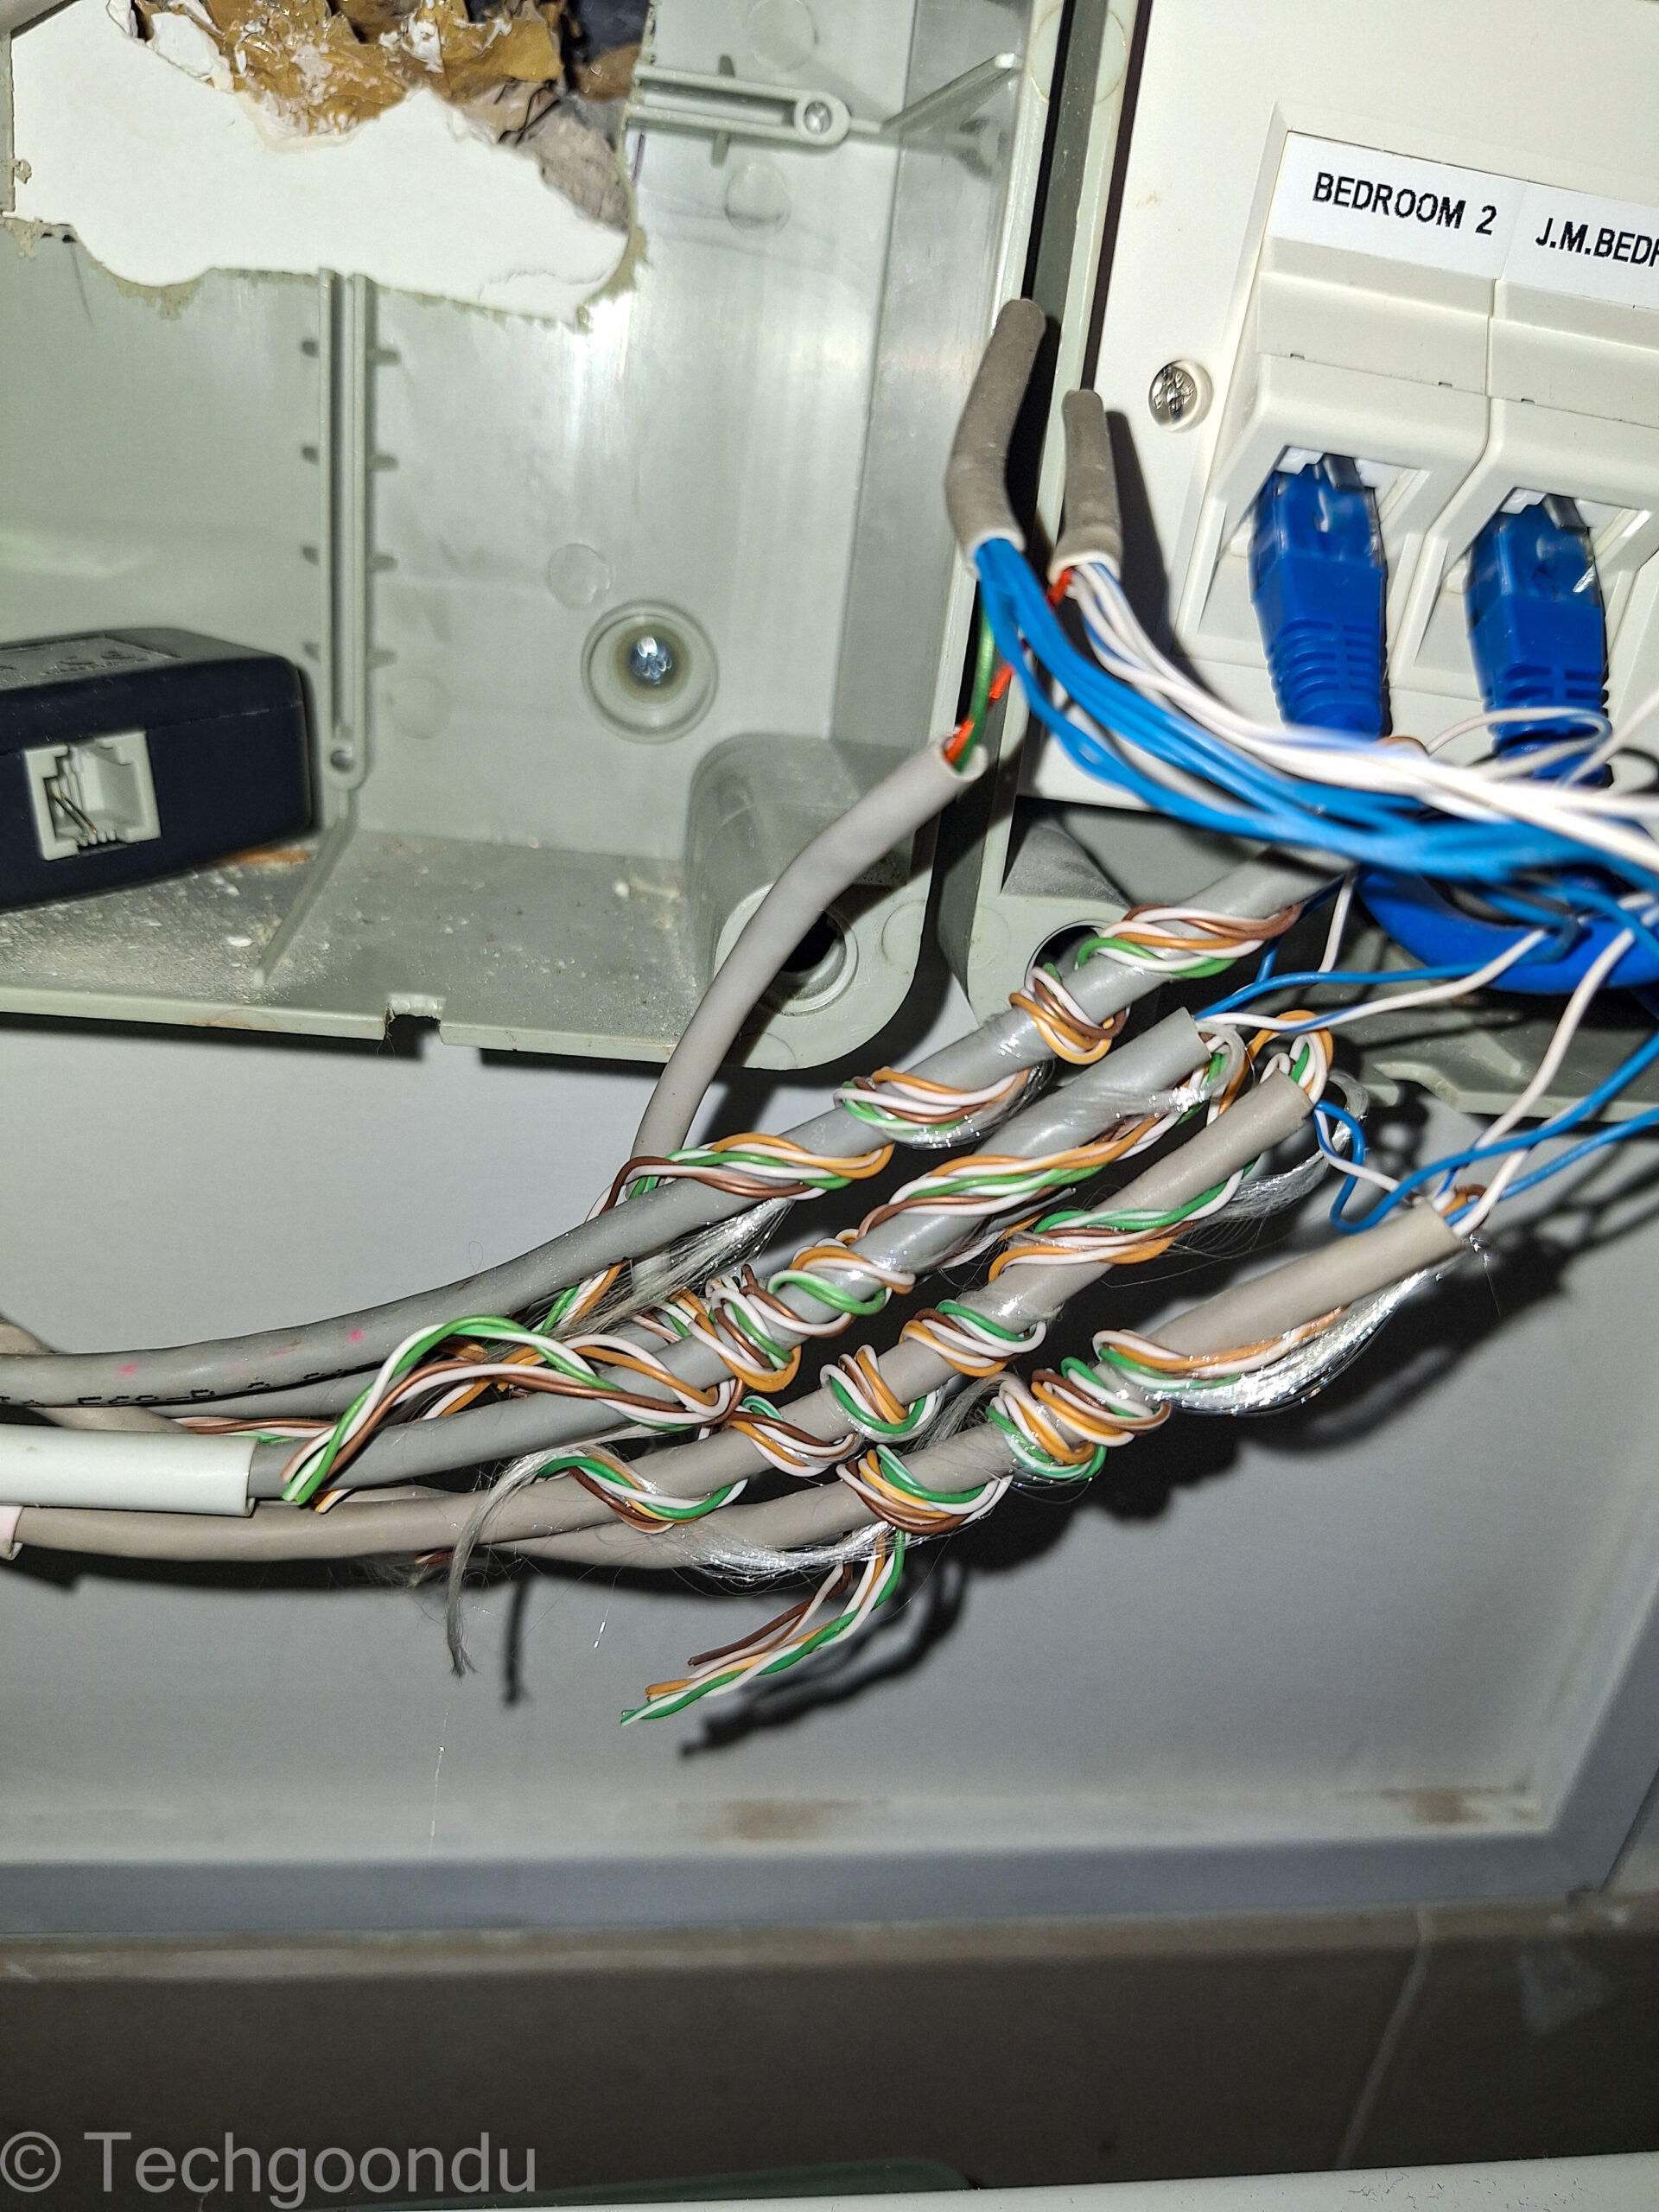

2. Separate the phone cables so that you have one going to each room. I cut the cables loose and basically connected each one to a keystone (see guide here). From here, they can be connected via another network cable to my patch panel and switch (the original phone cables were pretty short out of the wall).
After seeing the keystones simply dangling loosely, I felt a bit uneasy and went out to buy a distribution box. This lets the cables and keystone sit securely in an enclosed space so they won’t get tangled up with other items – important for a tight storeroom space like mine.


3. Find your “phone socket” in your rooms. Now you need to go to the other end of the cable to convert the phone socket into an RJ45 network socket. This usually means replacing an existing a phone wall plate with a Cat6 or Cat6a one, which is not difficult.
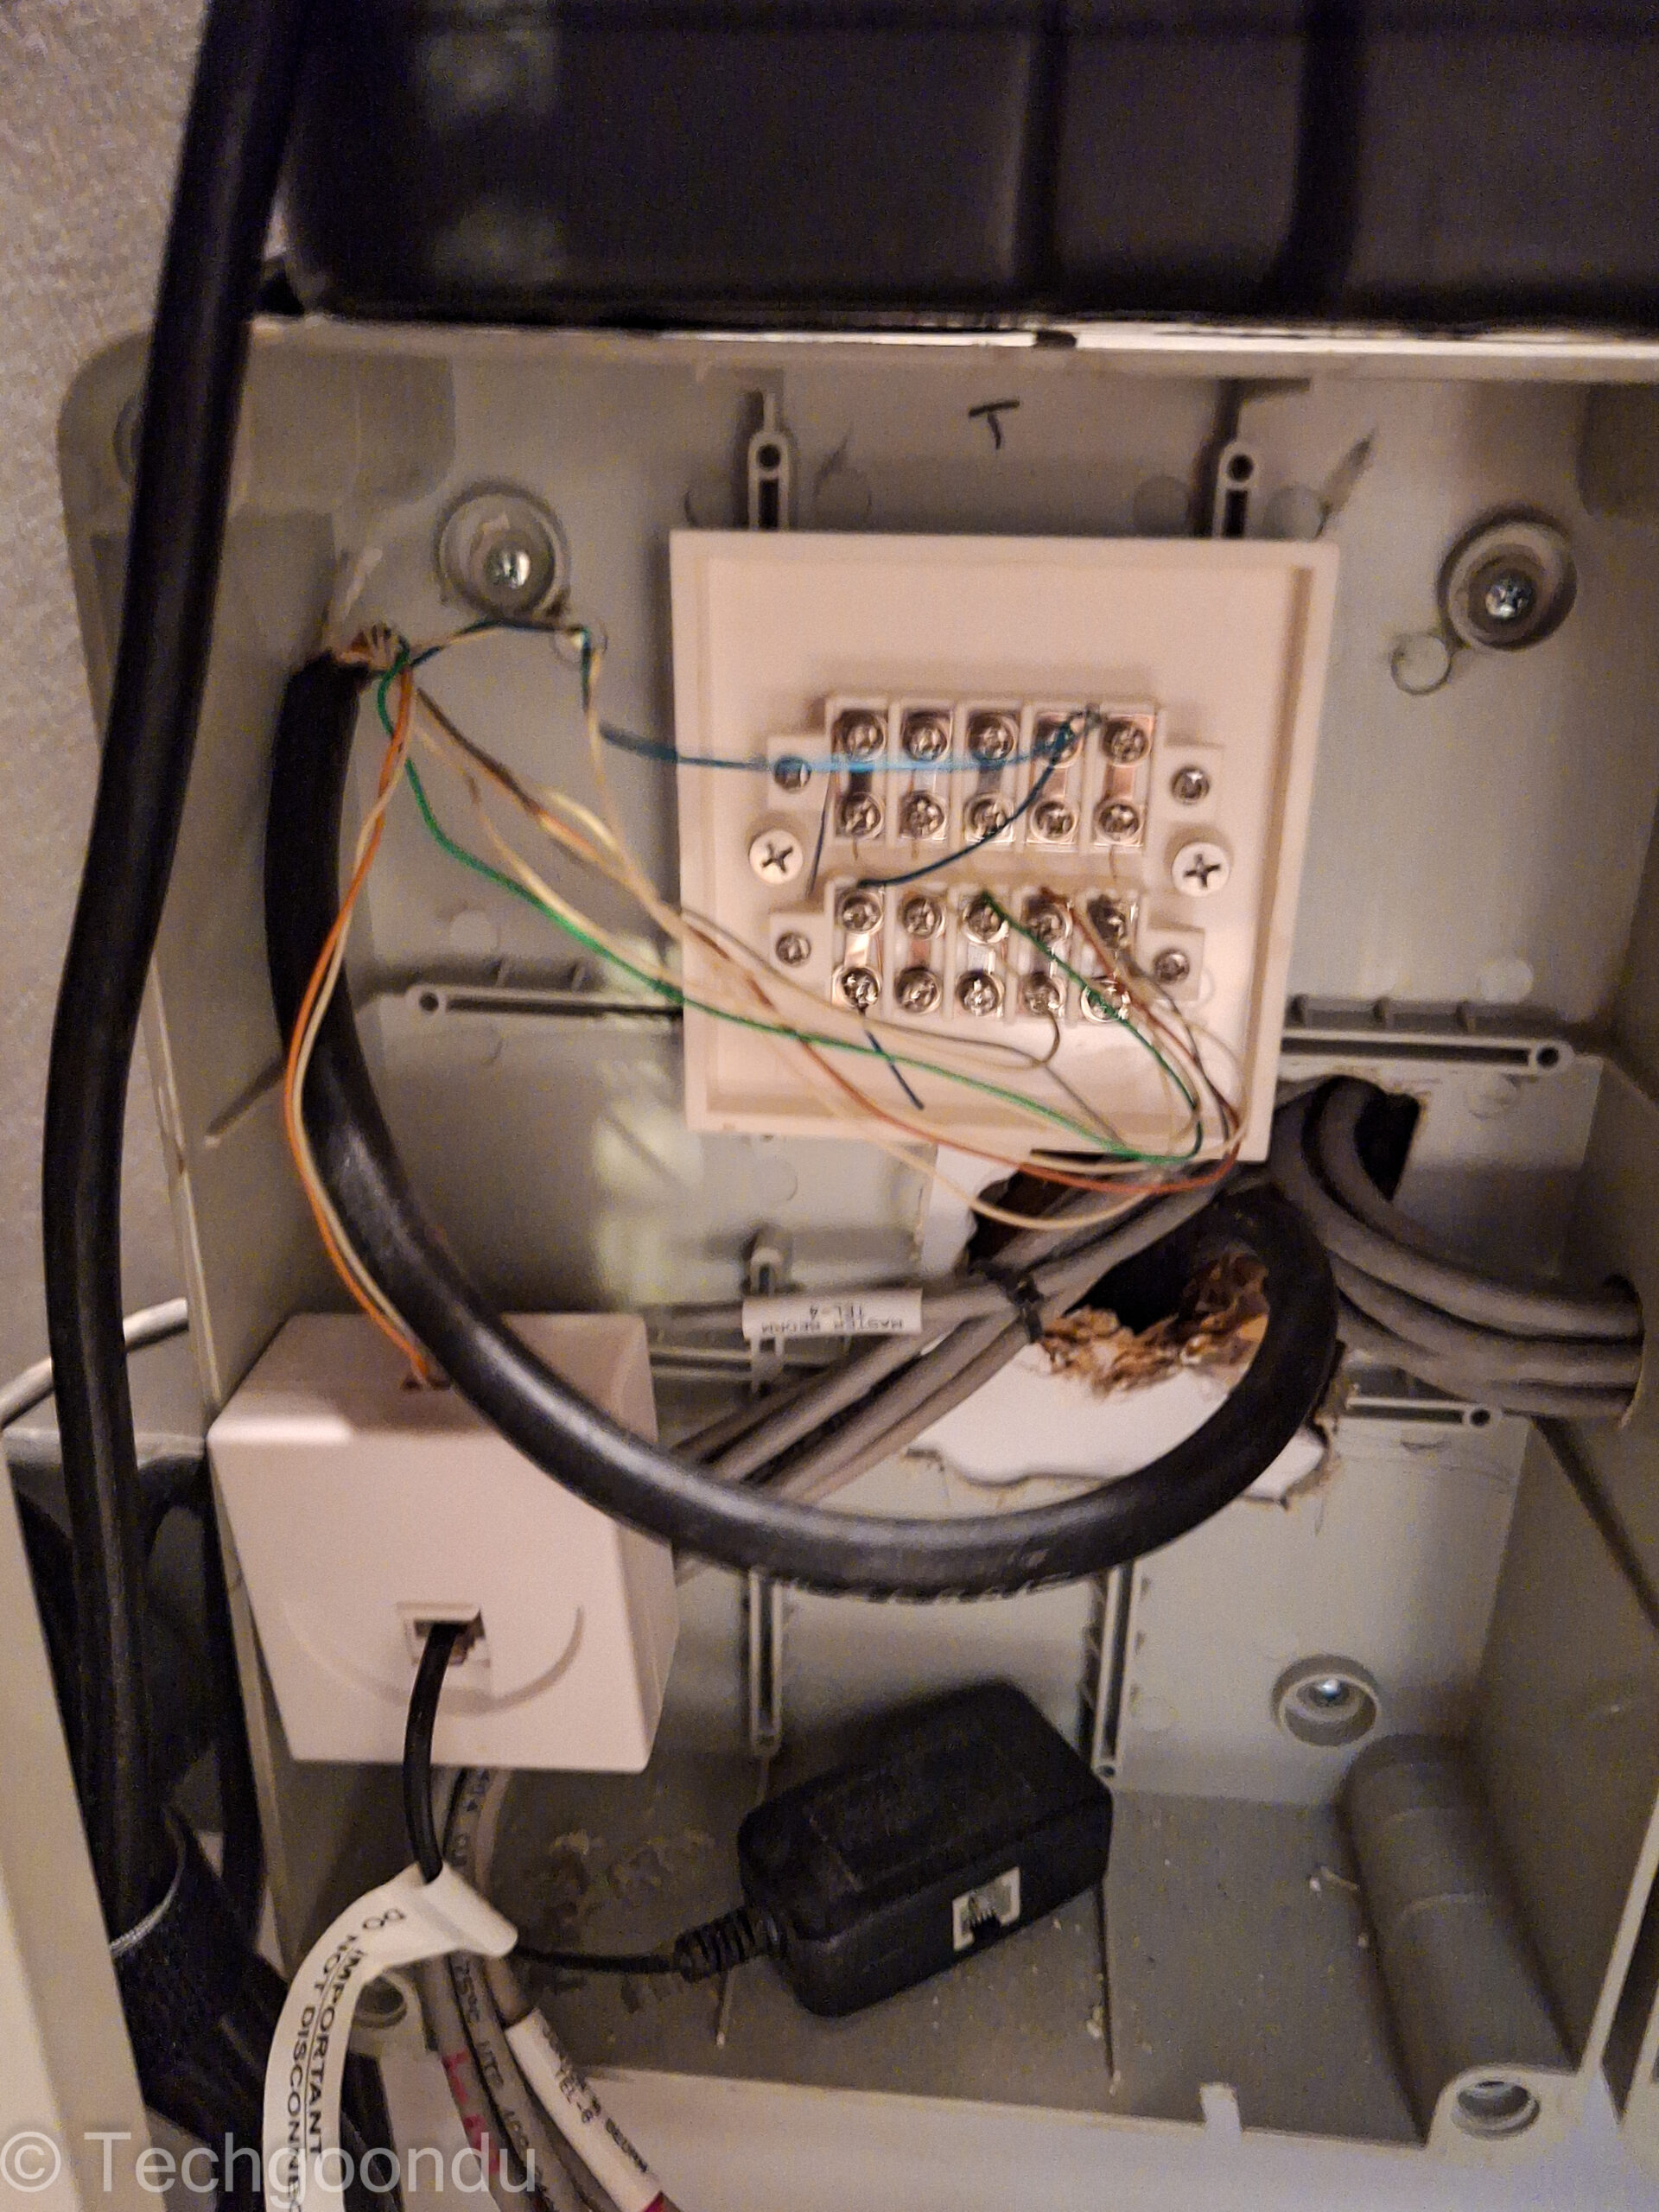
For me, there was an additional step. While renovating my house a few years ago, I had told the electrician to remove the telephone jacks and seal up the wall sockets.
This meant I had to look up my house’s electrical diagram to find where the sealed sockets are. Next, I had to hammer away at the wall and remove the plasterboard covering the conduit. This would give access to the wire in the wall to be converted to an Ethernet cable and socket.


Double the network sockets at home
Imagine how happy I was when discovered that I had not one but two cable points in each room. I had been trying to get a second cable to my study room but after looking at how stuffed the conduit through the walls was, I knew there was no chance of pulling another cable through.
Yet, now with two cables already linked to my room, I can run one 10Gbps link straight from my network switch to my desktop PC while having another link to a new Wi-Fi 7 access point to replace my existing one. Best of both worlds!
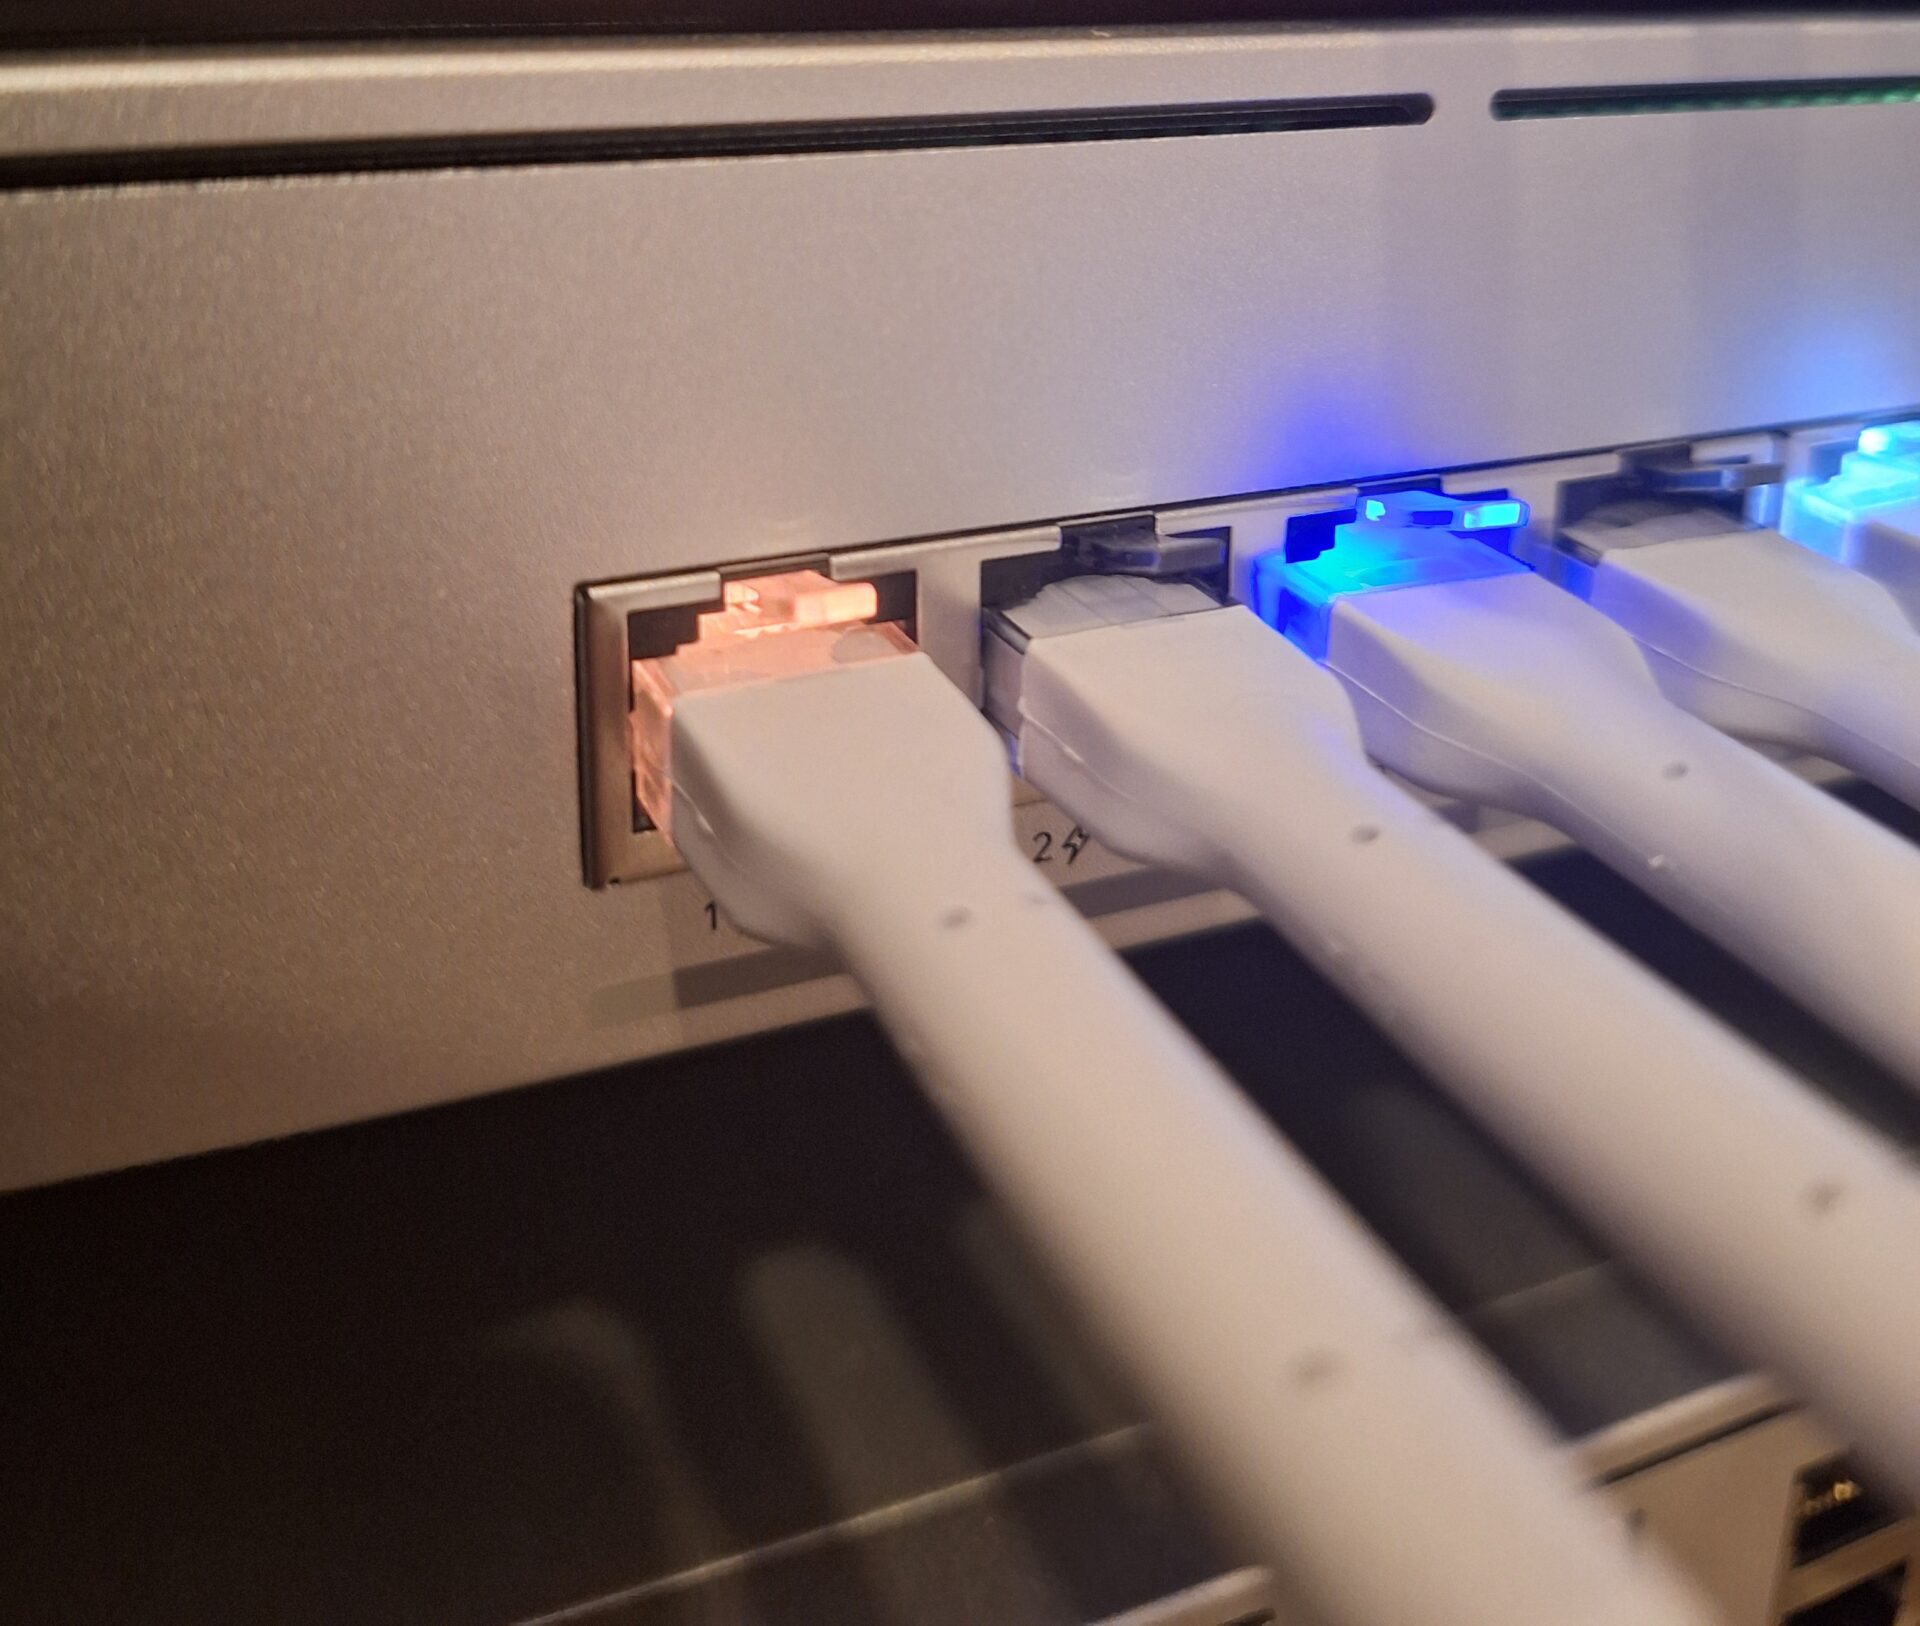
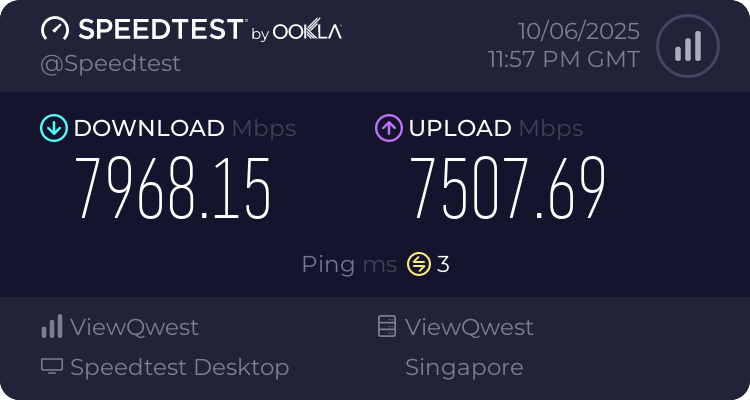
The good thing is that my repurposed telephone cables deliver 10Gbps just like the regular network cables, since they are just Cat5e cables. Crucially, my place isn’t so big that the cables run so long to affect speeds.
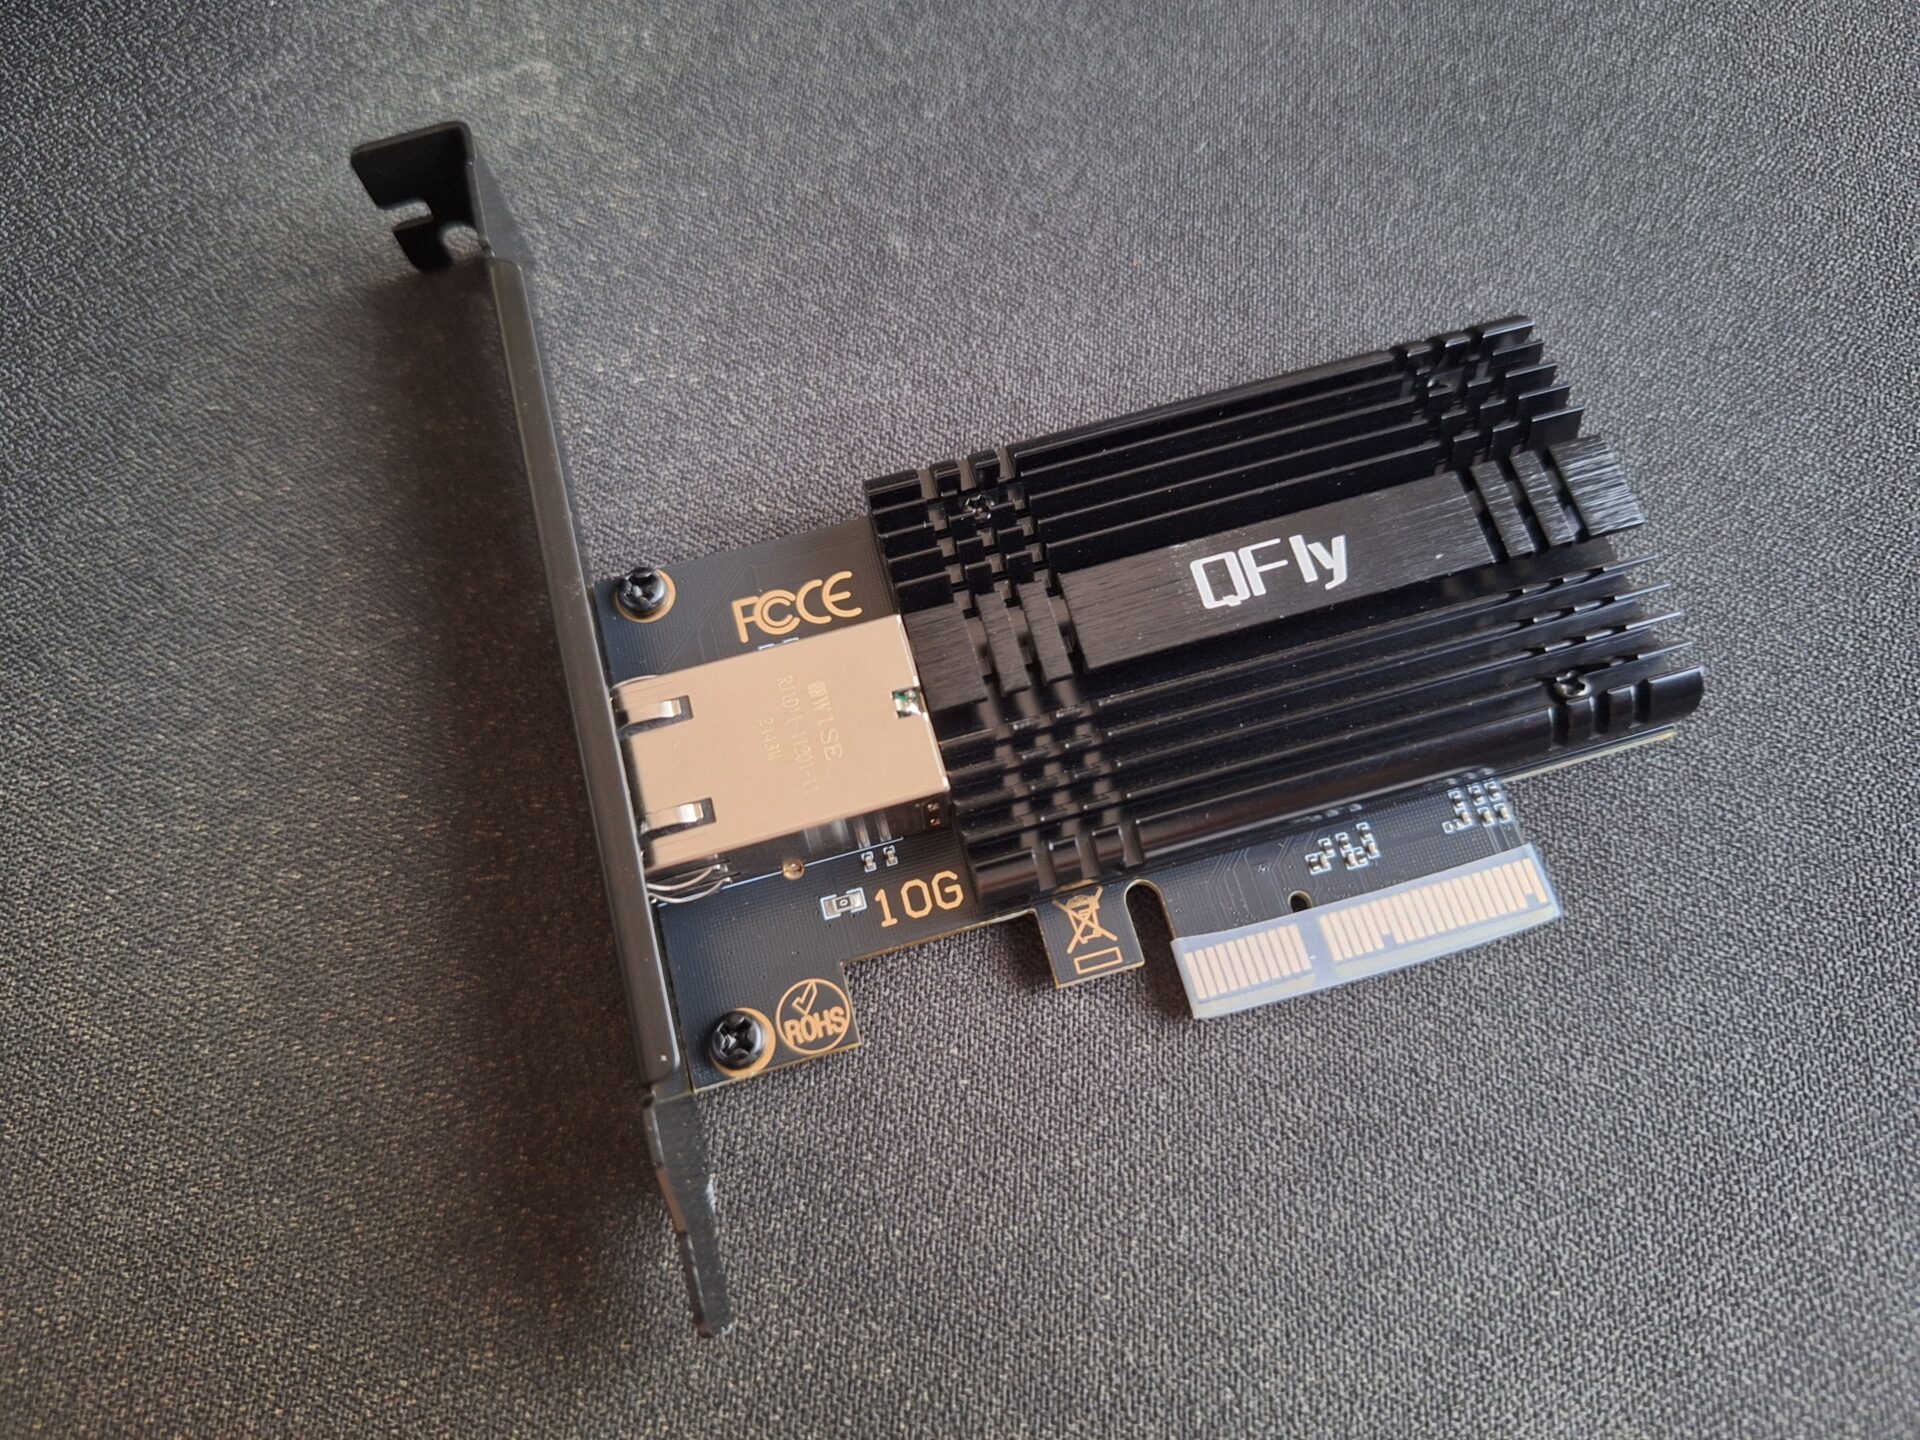
Connected to a 10Gbps network card using Marvell’s energy-efficient AQC113 chip, my desktop PC gets about 8Gbps downstream, similar to my router connecting directly to my Internet provider, ViewQwest. Upstream, the speeds are pretty similar as well.
At first I had got about half that speed downstream, thinking the cables may have been packed too tightly or were poorly shielded. However, it turned out that I had intrusion detection turned on for my Ubiquiti Dream Machine Pro gateway, which reduced the speed significantly. Turning off the feature showed that the cables performed as fast as needed.
Of course, if you are renovating your house, you should go with at least Cat6 or Cat6a cables – some are even laying fibre optic fibres – to your rooms to ensure that you get higher bandwidth. That said, older cables can do still the job in the 10Gbps age in Singapore.
Today, nobody lays any more phone cables in new homes here but if you have some in your walls from the past, have a quick check to see if they are Cat5e cables. They can be repurposed to provide another fast connection for your home network, if you’re cool with fiddling with some cables!