Installing a fresh copy of Windows on your new PC today is usually easy. Solid state drives (SSDs) are fast for copying files and once you’re set up and logged on to Windows and Google Chrome, you get many of your settings back instantly.
Okay, that’s if you don’t mess up some critical settings, as I did recently when I set up a spanking new Samsung 980 Pro SSD I had bought during an Amazon sale.
So, if you’re installing a new SSD into an existing PC, these are things you have to take note of:
- It’s always better to install a fresh copy of Windows
- Remember to back up all the important data on your existing drive (onto the cloud or an external drive)
- Take out your old drive once it’s backed up, and before you start installing Windows on the new drive
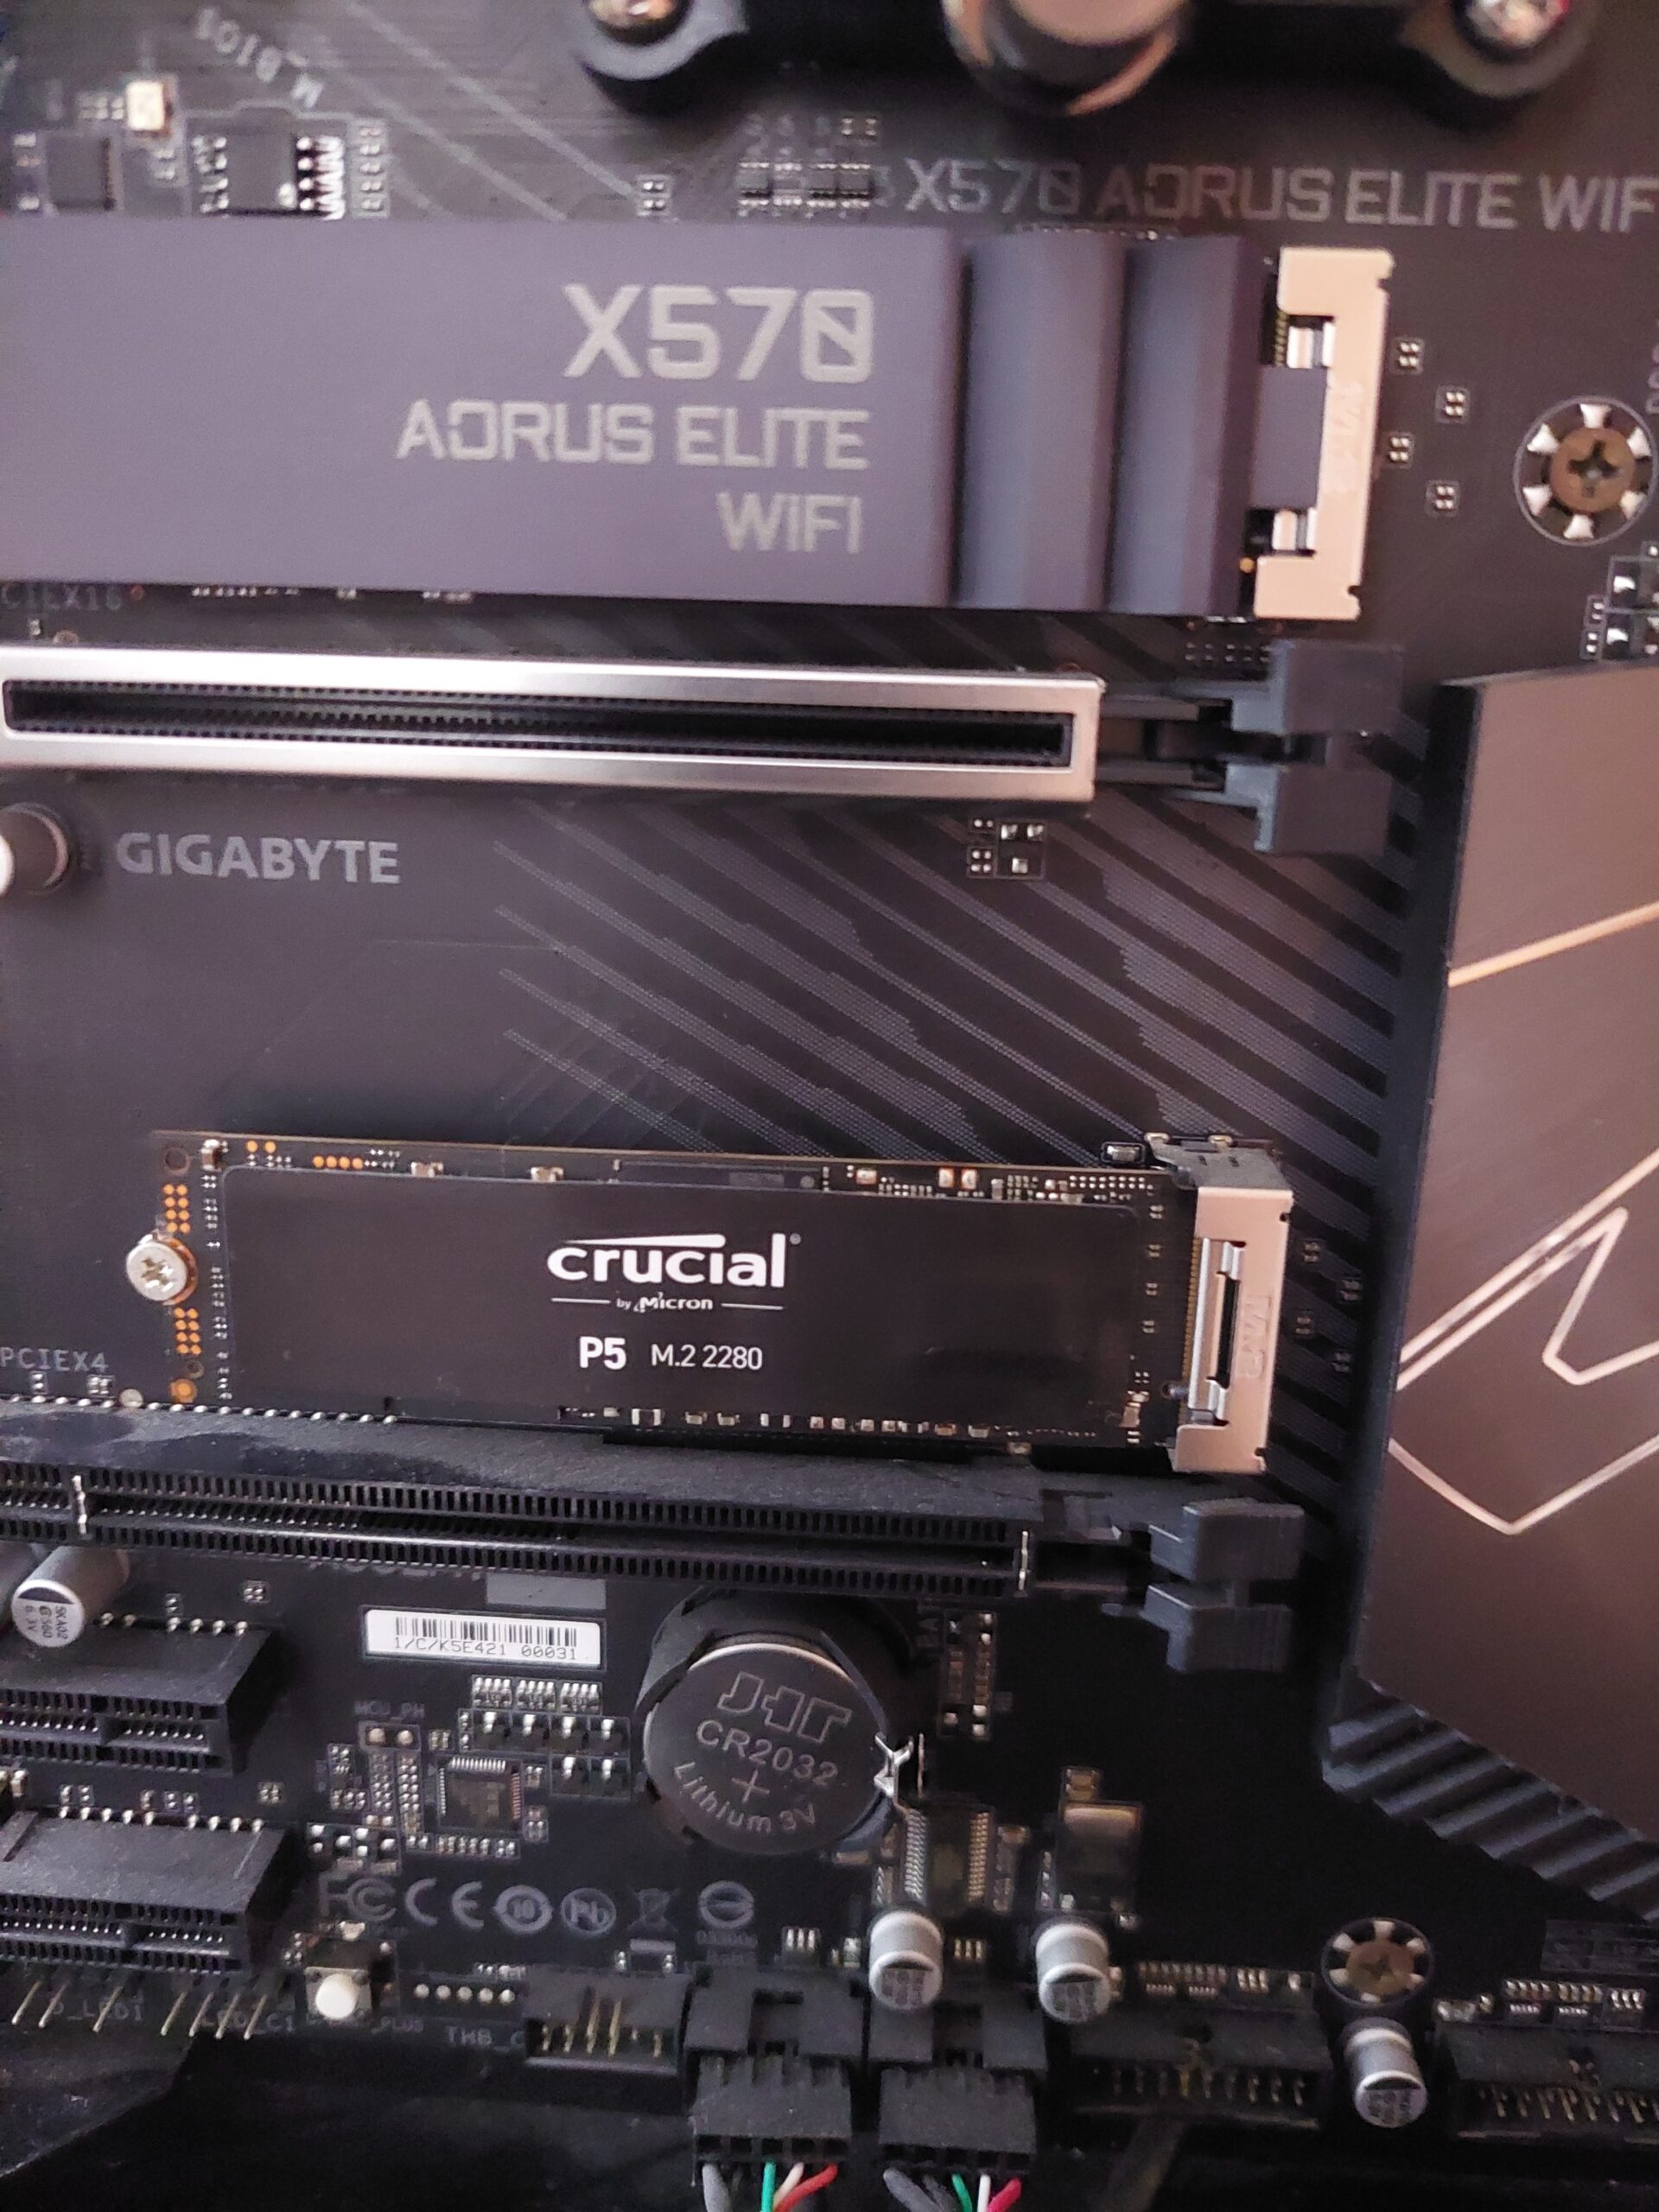
I had left my old 1TB Micron P5 SSD in my PC because I thought I could easily copy the old files over if I needed some that I had forgotten to back up. I could just set Windows to be installed on the new drive, right?
Well, not as before. I had forgotten that there is a bootable partition in my old drive that is needed to start things up, even if a fresh copy of Windows is installed on the new SSD.
The new SSD won’t have this partition automatically because the Windows installer doesn’t set this up by default if it sees an existing Windows installation on another drive.
This means I cannot wipe the old drive or remove it. Doing so means the PC – specifically, the BIOS – cannot find a bootable partition on my new SSD to get things started at all.
Now, this is because of changes in modern PCs in recent years that I haven’t kept in touch with. I had just thought things would be the same after building PCs for almost three decades!
In a nutshell, new PCs come with a UEFI BIOS supporting new partition styles (GPT or GUID Partition Table ) that are more modern and address shortcomings of previous versions (MBR or master boot record).
This also means that the BIOS will only let you boot up a drive with the GPT partition in place.
There are still options on some motherboards to run a legacy feature called CSM mode in the BIOS, but that’s not recommended for newer PCs because it lacks the more secure and high performance support in the new UEFI option.
For me, when I changed the BIOS setting to UEFI (or with CSM mode disabled), I would no longer see any bootable drive except for my old one, since my new drive doesn’t have a partition ready to boot up.
So, what do you do if you’re like me, stuck with an old drive you can’t get rid of? Fortunately, I didn’t have to wipe everything and reinstall Windows from scratch, which I had thought of doing.
What you can do is make a bootable partition in your new drive using the Windows command line, then boot up from there. Here are the steps (I gleaned from here):
- Fire up the command prompt by typing “cmd.exe” in your Windows Start menu, then right-clicking on the result to run in administrator mode
- Type “diskpart” to run the program
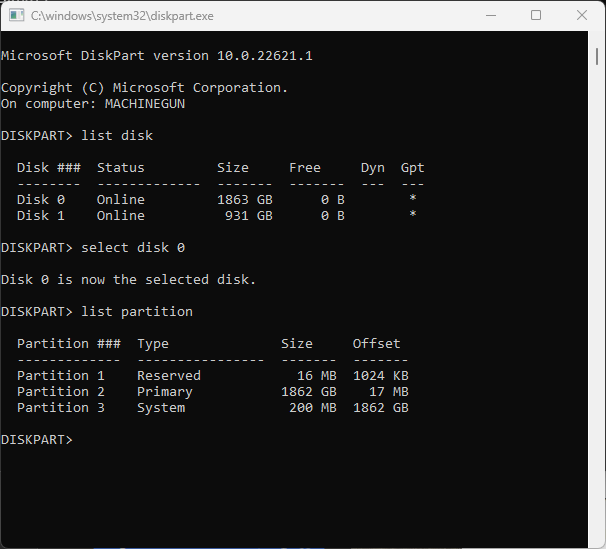
- Type “list disk” to show the various disks in place. Make sure you select the right one (the new SSD) by typing “select disk x” where x is the number for your disk.
- From here, you type “list partition” to list the available ones. This will be typically only one partition, as in my case, because the Windows installed on the new SSD doesn’t have the boot partition.
- To create one, type “select partition 1“. Then type “shrink desired=200” where 200 denotes the 200MB capacity that you want to set for the new boot partition.
- List the partitions again and select the 200MB partition (with the same commands as before). Then create an Extensible Firmware Interface (EFI) partition with the command “create partition efi size=200“
- Format the partition as FAT32 by typing “format quick fs=fat32”.
- Assign a letter to this partition, say, y. So, type “assign letter=y“. Then type “exit” to get out of the diskpart program.
- Next, to install the boot files needed. If your new drive (where the fresh Windows installation is) is assigned to C, and your boot partition was set to Y as in the earlier example, you have to type “bcdboot C:\Windows /s Y:”.
What you’ve done here is create a bootable partition in your new SSD that your BIOS will recognise when the PC starts up again.
However, as you’d recall, you still have a similar partition in your old drive that you can’t get rid of if you’re still in Windows, because it contains active system files in use.
What you’d next have to do is restart the PC and make sure you get into the BIOS on startup. From here, you might see two bootable drives – make sure you select the new SSD as the first drive to boot from.
Once done, your PC will lock on to this and restart with this bootable partition in the new SSD every time.
When you get back into Windows, you can then remove any unwanted partitions on the old SSD and format it for use as an empty drive. Use diskpart on the command line to delete the old boot partition here, along with others you don’t need.
Again, make sure you have selected the right partition from the right disk. If it contains system files, you need to type on the command line “delete partition override“. When all the unwanted partitions are removed, you can format the old SSD.
What this episode taught me is to never assume things are easier when they get more modern. With new PCs come new technologies that you’d need to set up differently to avoid hours of headache. Good news is, now I know better!